YouTube is a popular video-sharing website that has a large number of subscribers who are actively uploading their video collections on YouTube. This is one of the most effective strategies of YouTube to make sure that the platform can always produce new and updated videos every day.
There is a wide range of video and content categories available on YouTube. It almost has everything that a user needs. It is no wonder that YouTube is one of the great tools that can be used to produce informative video recordings either for lectures, tutorials, or any presentations. Usually, students and business professionals are grabbing informative videos from YouTube and incorporate them into their presentations for effective visual information dissemination. However, for presentation videos, it is very important to be able to emphasize the most important details in a video like adding a subtitle or caption, inserting circles or arrows, and it will be much more effective to be able to add audio for dubbing or extra explanation. This cannot be attained just by downloading the YouTube video and doing video editing. It could take up more time and could be hard to do especially for non-technical users.
To be able to do this, you can record Youtube videos or download Youtube videos on your PC using VideoPower GREEN or ZEUS.
Method 1: Record YouTube Video on PC using VideoPower GREEN
Method 2: Download YouTube Video to PC using VideoPower RED
ZEUS can do what VideoPower series can do and more with an almost similar interface.
Check out NOW! Start easier with more affordable prices!
Method 1: Record YouTube Video on PC using VideoPower GREEN
To record youtube videos, you can use VideoPower GREEN to record the YouTube video. While recording, the software can add customizations like add text, shapes, lines, arrows, or turn on audio which is perfect for presentation purposes.
Just click the link below to download this software to record YouTube videos on windows 10 and follow through these steps.
Step 1: Choose sound source

If audio is needed in recording, choose the desired sound source among “System sound, Microphone or System sound and microphone” on the “Audio Input” menu. If audio isn’t needed, just choose “None”.
Audio Input:
1. System sound – this is used for recording to include only the audio from the system.
2. Microphone – this is used for recording to include only the audio from the microphone.
3. System sound and Microphone – this is used for recording to include both the audio from the system and microphone.
4. None– this is used if you don’t want to include any audio for the recording.
In recording YouTube videos, it is recommended to select “System sound”.
Step 2: Select the recording area to start recording

By clicking the “Record” drop-down button you can choose recording mode between “Full-screen”, “Region”, “Audio”, “Web camera”, and “Around mouse”.
Recording Modes:
1. Region – this is used to select any part of the preferred area to record.
2. Fullscreen – this is used to record the entire screen.
3. Around mouse – this is used to record the area near the mouse.
4. Web camera – this is used to record with your camera on.
5. Only audio – this is used to record with your audio-only.
In recording the YouTube videos, it is recommended to use “Region” to customize the exact frame rate of the video or “Fullscreen” to record the whole screen.
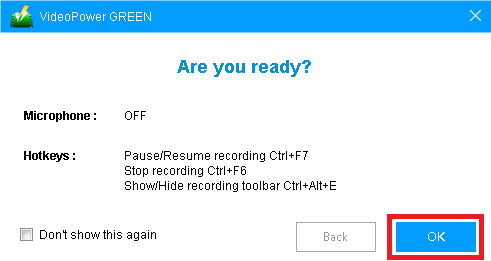
A pop-up window will show to confirm whether to start the recording or not. It also informs you about the hotkeys and if your microphone is on or off. Click “OK” to start the recording.
Step 3: Annotate and edit instantly (optional)
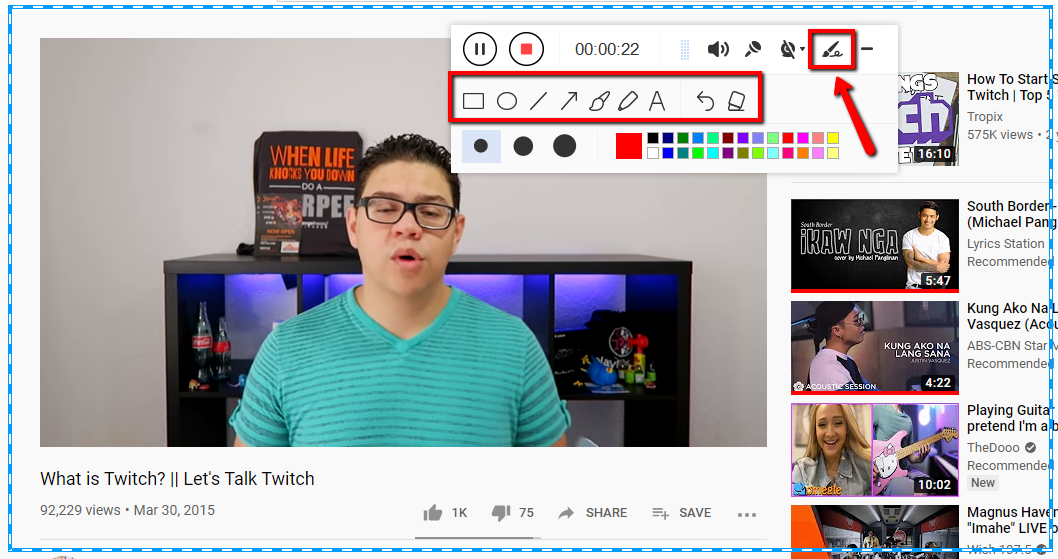
While recording, adding lines, arrows, shapes, texts, highlight, blur, etc. is possible. Just click the edit button to show the editing toolbox.
Step 4: Save the recorded YouTube video

Click the “Stop” button, then the recorded video will be saved automatically.
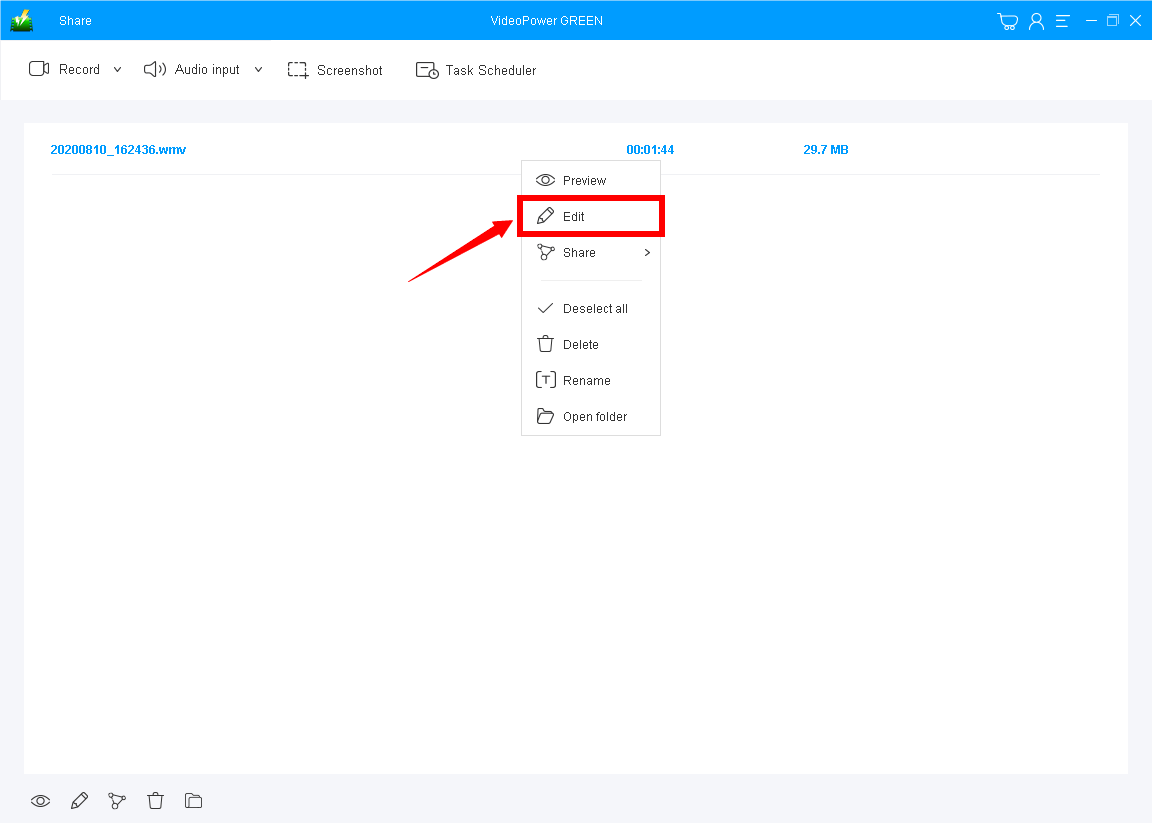
You will see the list of recorded files on the main interface, right-click the file to do further operations such as preview or edit as per your need.
Method2: Download YouTube Video to PC using VideoPower RED
For cases that only a pure YouTube video is needed, you may also use VideoPower RED to directly download the video.
Just click the link below to download VideoPower RED to download YouTube videos on windows 7/8/10/11 and follow through these steps.
Step 1: Choose sound source
If audio is needed in recording, choose the desired sound source among “System sound, Microphone or System sound and microphone” on the “Audio Input” menu. If audio isn’t needed, just choose “None”.
Audio Input:
1. System sound – this is used for recording to include only the audio from the system.
2. Microphone – this is used for recording to include only the audio from the microphone.
3. System sound and Microphone – this is used for recording to include both the audio from the system and microphone.
4. None– this is used if you don’t want to include any audio for the recording.
In recording YouTube videos, it is recommended to select “System sound”.
Step 2: Select the recording area to start recording
By clicking the “Record” drop-down button you can choose recording mode between “Full-screen”, “Region”, “Audio”, “Web camera”, and “Around mouse”.
Recording Modes:
1. Region – this is used to select any part of the preferred area to record.
2. Fullscreen – this is used to record the entire screen.
3. Around mouse – this is used to record the area near the mouse.
4. Web camera – this is used to record with your camera on.
5. Only audio – this is used to record with your audio-only.
In recording the YouTube videos, it is recommended to use “Region” to customize the exact frame rate of the video or “Fullscreen” to record the whole screen.
A pop-up window will show to confirm whether to start the recording or not. It also informs you about the hotkeys and if your microphone is on or off. Click “OK” to start the recording.
Step 3: Annotate and edit instantly (optional)
While recording, adding lines, arrows, shapes, texts, highlight, blur, etc. is possible. Just click the edit button to show the editing toolbox.
Step 4: Save the recorded YouTube video
Click the “Stop” button, then the recorded video will be saved automatically.
You will see the list of recorded files on the main interface, right-click the file to do further operations such as preview or edit as per your need.
Conclusion:
Some free screen recorder for pc is easy to use, however, to some terms, this best free Youtube recorder software called VideoPower GREEN is more powerful than any other YouTube screen recorder. It has a video editor, snapshot capture tool, and task scheduler where you can schedule your screen recording activities.
It is more stable and versatile with quality results. It offers the easiest solutions for you to record videos on YouTube and on windows 10 screen, so download now!
ZEUS series can do everything that VideoPower series can do and more, the interface is almost the same.
Check out NOW! Start easier with more affordable prices!
ZEUS Series
VideoPower brother products, start easier with more affordable prices!
| ZEUS BUNDLE 1 Year License ⇒ $29.99 |
ZEUS BUNDLE LITE 1 Year License ⇒ $19.99 |
ZEUS RECORD LITE 1 Year License ⇒ $9.98 |
ZEUS DOWNLOAD LITE 1 Year License ⇒ $9.98 |
||
| Screen Recorder | Screen&Audio Recording | ✔ | ✔ | ✔ | |
| Duration Setting, Schedule Recording | ✔ | ||||
| Video Downloader | Paste URL to download, batch download | ✔ | ✔ | ✔ | |
| Search/download video,browser detector | ✔ | ||||
| Music Recorder | Record music and get music ID3 tag info | ✔ | ✔ | ||
| Music search/download/record, CD Ripper/Creator, Audio Editor | ✔ | ||||
| Video Editor | Edit and convert videos, create slideshow | ✔ | |||
| Screen Capture | Capture screen, image editor | ✔ | |||