To choose the right free screen recorder is very important depending on what you aim to do with the footage you capture. A lot of recorders offer a range of different features, can save captures in different formats, or capture from sources such as a webcam.
You might want to get a clip or want to record footage in HD quality? Then take a look at our guide below for the best HD screen recorder for Windows 10. No matter what you record the result of the footage captured from your computer can also be edited with its built-in editor.
VideoPower GREEN or ZEUS screen recorder is very easy and intuitive. It has a very friendly user interface that even inexperienced video editors can use without a sweat. You can capture footage from your PC screen or a webcam, and record audio with system sound or microphone or even both from your PC.
You can choose to include the cursor in the recording and take the choice from a range of output formats including MP4, WMV, AVI, MOV, FLV, and many more. You can even highlight the important part of your video while recording.
Just click the link below to download this app for free!
ZEUS can do what VideoPower series can do and more with an almost similar interface.
Check out NOW! Start easier with more affordable prices!
Steps on How to Record Screen for Windows
Step 1: Settings to record Windows PC screen
1.1 Choose a sound source
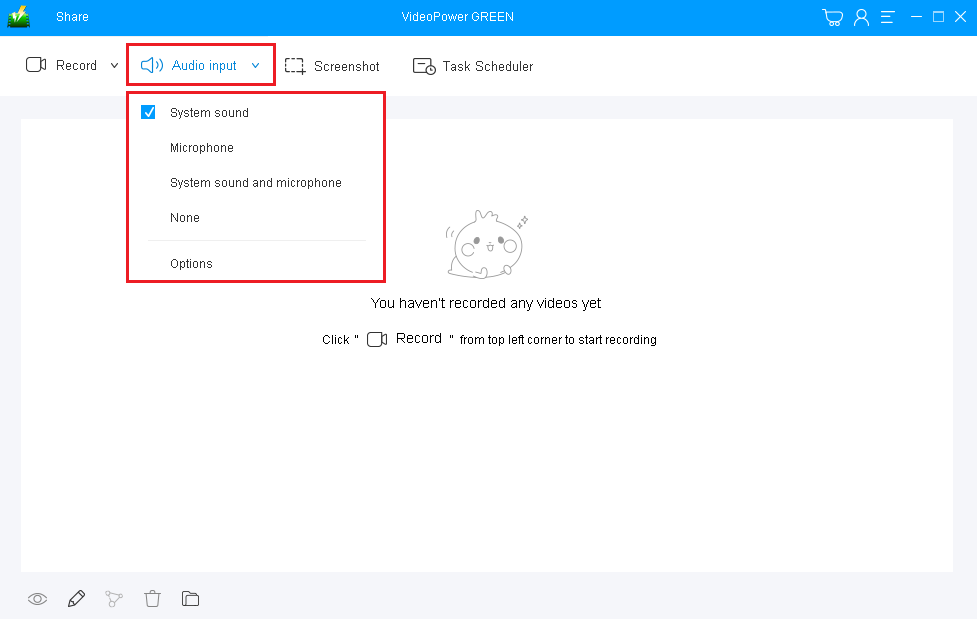
If audio is needed in recording, choose the desired sound source among “System sound, Microphone or System sound and microphone”, or “None” on the “Audio input” menu.
You can select “System sound” as your sound source in recording your Windows screen.
1.2 Choose a recording area
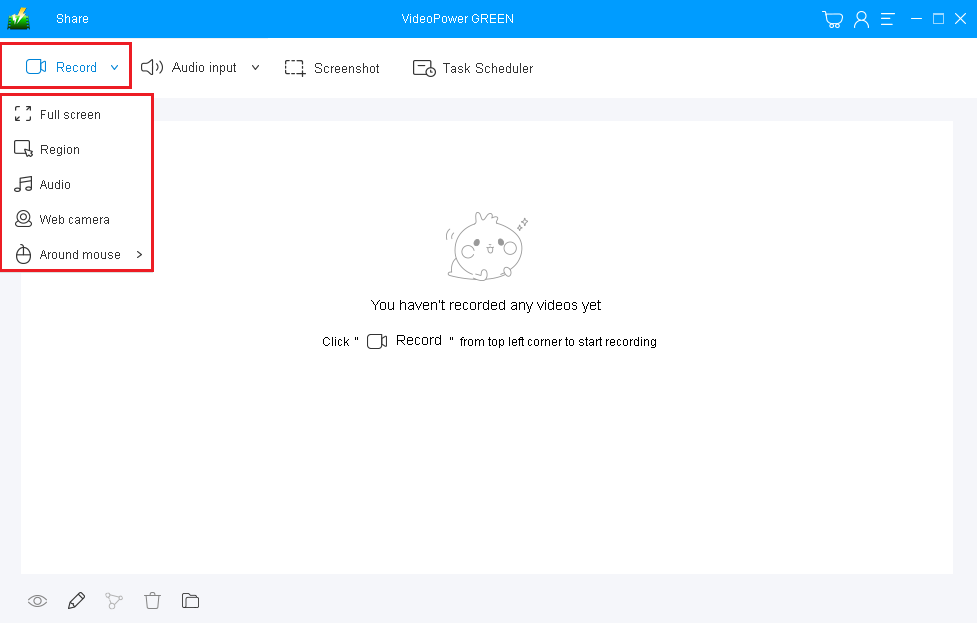
Click on the “Record” button to choose the recording mode among “Full screen, Region, Audio, Web camera, and Around mouse.
In recording the PC screen, you can use “Full Screen” or “Region” as your recording mode.
1.3 Start to record Windows screen
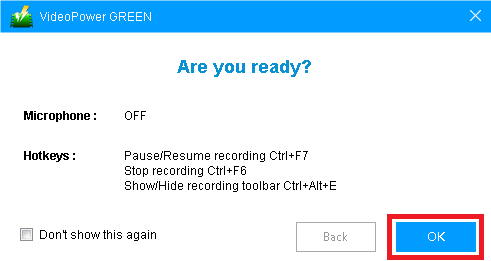
A pop-up window will show to confirm whether to start the recording or not. Click “OK” to start the recording.
Step 2: Edit while recording (Optional)
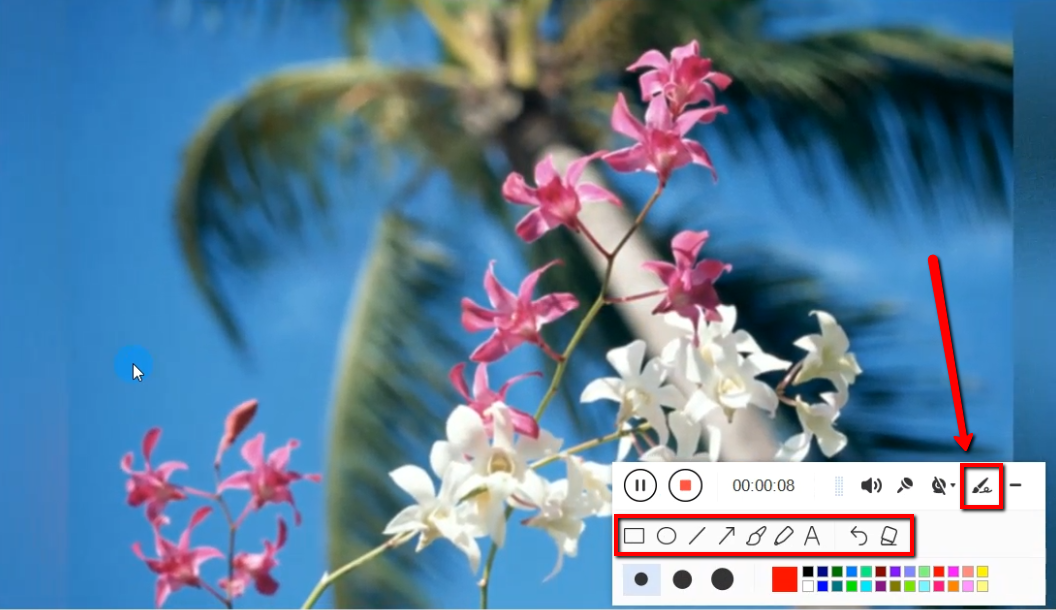
While recording, adding annotations like lines, arrows, shapes, texts, highlight, blur, etc. is possible. Just click the “Edit” button to show the editing toolbox.
Step 3: Save the recorded file.

Click the “Stop” button to stop recording.

After recording, the screen will automatically redirect to the recorded file list on the main interface window. Right-click the file and do more operations if necessary, like open the storage folder where the file is saved or playback the recorded video.
Conclusion:
VideoPower GREEN gives you the ability to record HD footage on Chrome, IE, Firefox in one go. It also comes with a built-in editor and a wide range of video and audio formats that you can choose from before recording and once you’re done, you can save the recorded Windows screen and upload it directly to your YouTube channel, Facebook, Twitter, Instagram, Vimeo, or send it to Google Drive or Dropbox.
ZEUS series can do everything that VideoPower series can do and more, the interface is almost the same.
Check out NOW! Start easier with more affordable prices!
ZEUS Series
VideoPower brother products, start easier with more affordable prices!
| ZEUS BUNDLE 1 Year License ⇒ $29.99 |
ZEUS BUNDLE LITE 1 Year License ⇒ $19.99 |
ZEUS RECORD LITE 1 Year License ⇒ $9.98 |
ZEUS DOWNLOAD LITE 1 Year License ⇒ $9.98 |
||
| Screen Recorder | Screen&Audio Recording | ✔ | ✔ | ✔ | |
| Duration Setting, Schedule Recording | ✔ | ||||
| Video Downloader | Paste URL to download, batch download | ✔ | ✔ | ✔ | |
| Search/download video,browser detector | ✔ | ||||
| Music Recorder | Record music and get music ID3 tag info | ✔ | ✔ | ||
| Music search/download/record, CD Ripper/Creator, Audio Editor | ✔ | ||||
| Video Editor | Edit and convert videos, create slideshow | ✔ | |||
| Screen Capture | Capture screen, image editor | ✔ | |||