VideoPower BLUE is a simple and straightforward video editing software that offers basic editing features you can get out of similar products. However, what sets this program apart from the rest is its unique screen recording function packed with a variety of audio and video recording and conversion formats. The product is a no-brainer for novice video editors but a useful tool for more experienced users.
The first great thing that you can notice about this program is the user-friendly interface that allows even the most novice of users to feel at home and at ease – the function buttons are set up in such a way that they can be easily found and used.
There are four (4) main parts to this program:
- Convert function
- Split screen function
- MV function
- Record function
Let’s explore each main parts of the program in-depth.
Convert function
VideoPower BLUE stands out as a unique product from the rest of the video editing software available out there partly because of this one unique feature. There are not a lot of video editing programs that offer a conversion function – and this one can convert audio and videos to boot.
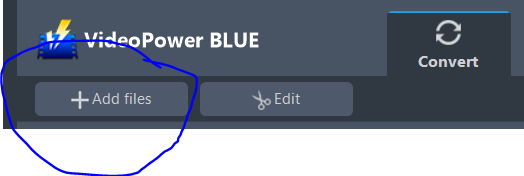
To use this function just click on Convert button on the main taskbar of the program. It’s encircled in the picture below:
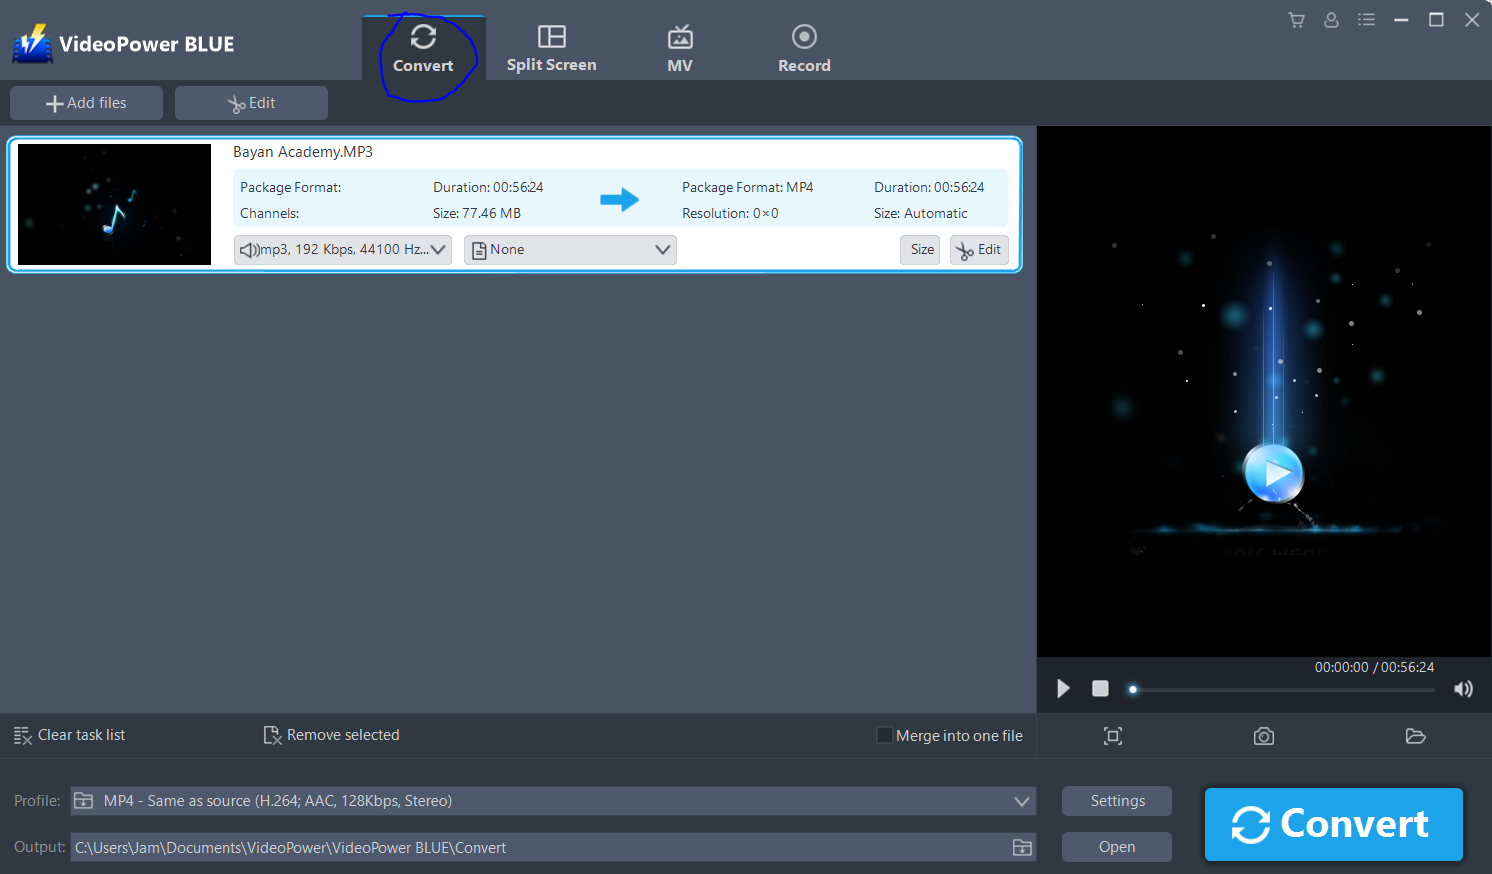
To add a video, just click the add files button on the upper left of the screen. You can add multiple videos to be converted. To clear the task list, just click clear the task list or if you want to remove a single file from the list, just click on the file and then remove selected. Also, for multiple files, you can merge into one file


There are also various formats that you can choose from.
You can select from different formats available by clicking on the drop-down menu of the Profile button. By doing so, you can choose video formats and audio formats for the video being converted. You can also choose different qualities for each.
Also, there is an option for devices where you can choose the type of device the video you are converting is suitable for.

One cool feature in this software is the shutdown computer after conversion which is just perfect for people who are about to leave their computers. Clicking on Convert will automatically put the files in queue and convert every single one into the user’s desired format, and ticking the box for shutdown computer after conversion allows you to save power automatically without having to be physically present and manually shutting down the computer.

You can also maximize the screen (1), take screenshots (2), and open the screenshot folder (3)

Lastly in this section, you can edit the video by clicking on Edit.
The program offers basic video editing features such as trimming (1), adjusting (2), effect (3) which modifies the video’s volume, speed, contrast, brightness, and saturation, watermark (4), and subtitle (5).
Trimming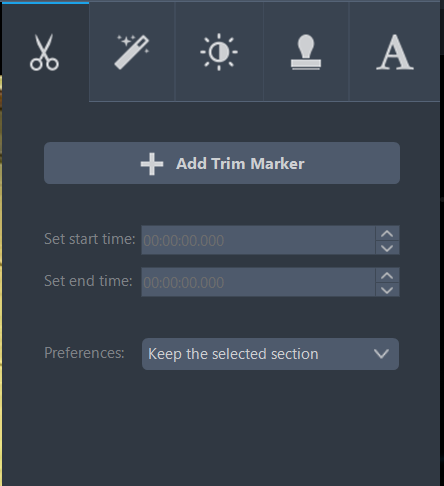
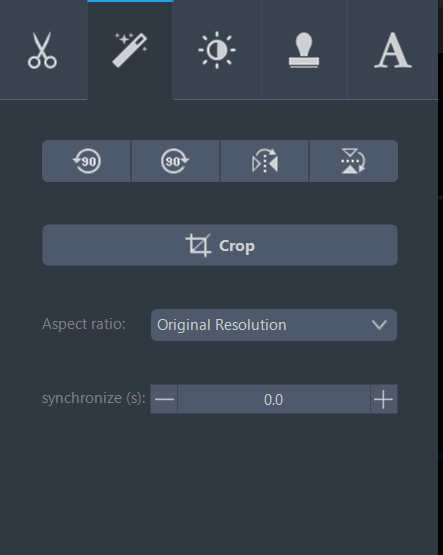
Adjusting
You can crop, rotate, change aspect ratio, etc.
Effect
You can edit speed, volume, contrast, brightness, and saturation of the video.
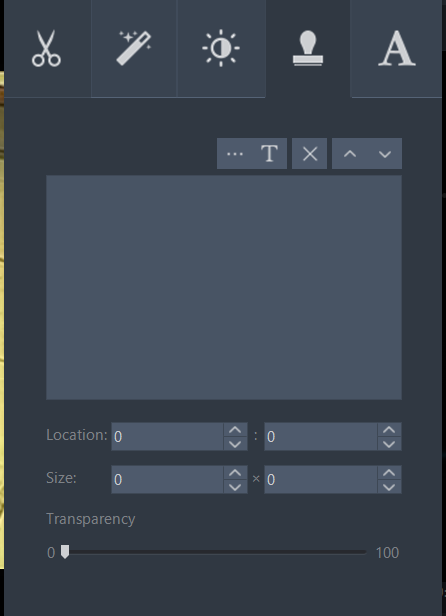
Watermark
Watermarking your work for protection from copyright.
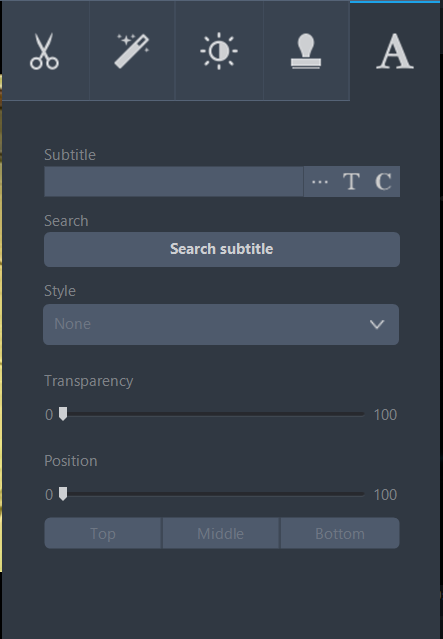
Subtitle
Split screen function
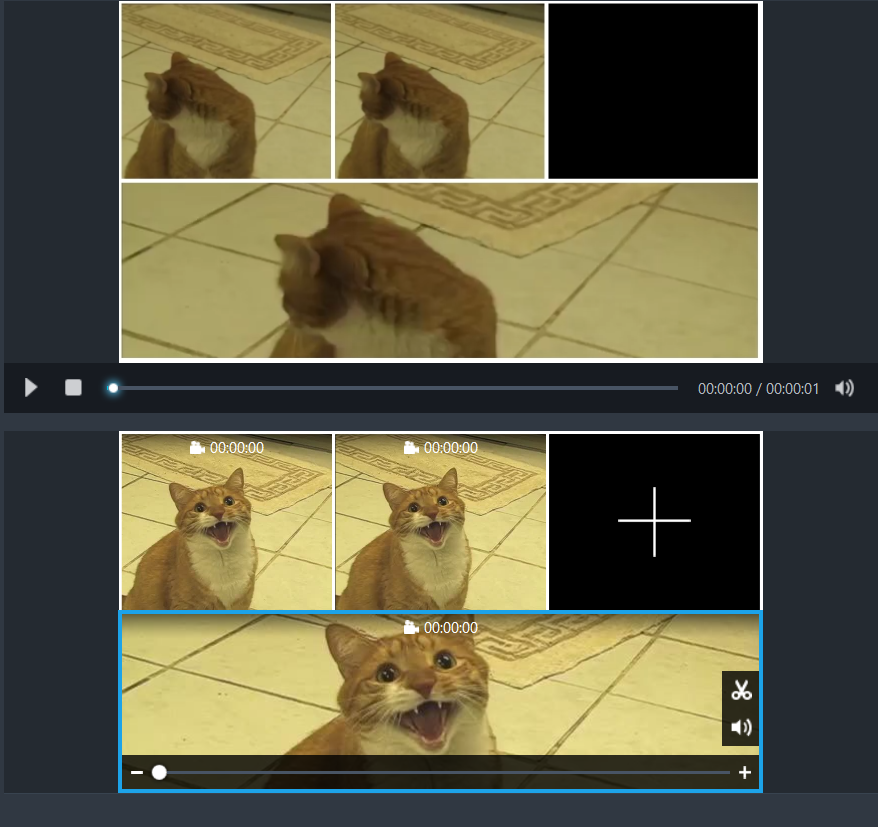
This is another feature that allows this program to stand out. It has a split screen function perfect for presentations with multiple screens.
The top portion of this feature allows you to play the video and see it in its entirety while the bottom portion allows you to edit the video. You can add videos by clicking the plus sign on the bottom portion.
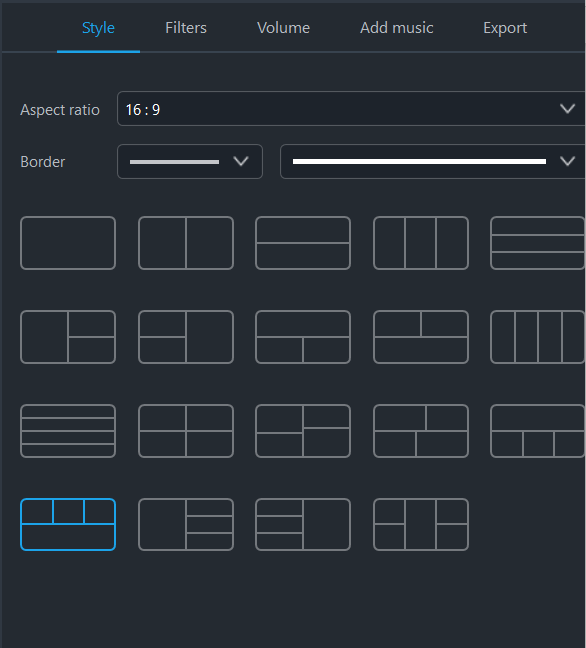
You can choose from multiple styles for the videos. You can also adjust the filters, volume, add music, and export the video file that you are editing to your computer in different sizes – 360P, 720P, and 1080P.
MV function
This function allows you to make slideshows with various styles. You can add music and export the file to your computer’s directory.
Encircled blue below, you can add files or clear files.

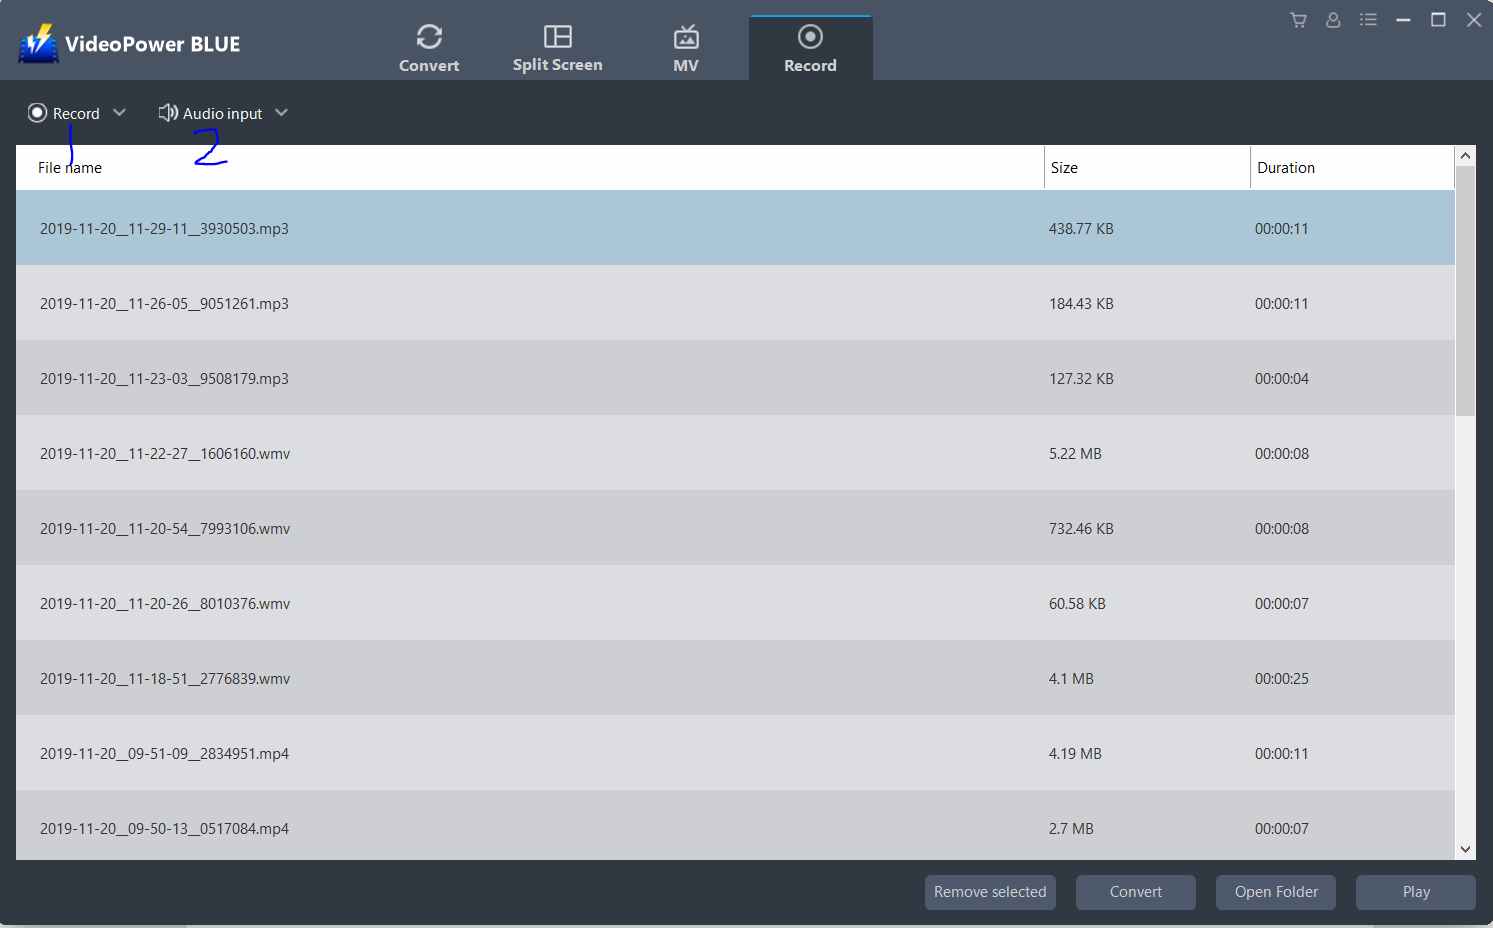
Record function
Yet again another feature that makes this program powerful and stand out from other video editing software is its recording function.
You can record (1) by clicking the button or you can choose what type of recording you want by clicking on the drop-down menu. You can choose whether to record in full screen, region, around mouse in this section, you can choose the resolution of the recording, web camera where you can record yourself directly into the video editor, or only audio where you can choose in which format the output is created.
You can also change the settings for the audio input (2) where you can choose from
-
- None – no audio will be recorded.
- System sound – only the sound coming from the computer will be recorded. Ideally, you can record videos from websites by simply hitting record and playing the video.
- Microphone – only the sound coming from your computer’s microphone or an external USB microphone will be recorded. Take note: when you want to record from a USB microphone, make sure that you plug in the device first before starting VideoPower BLUE, otherwise the software may not be able to identify the USB device that you’ve connected.
- System and microphone – the audio coming from the microphone of your computer and the audio from the screen activity will be recorded. Ideal for gaming videos where you can comment while playing.
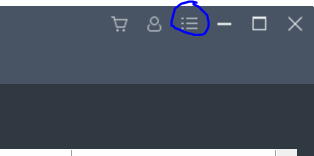
Preferences
By clicking on the button encircled blue below, you can modify the settings of the software based on your preferences.
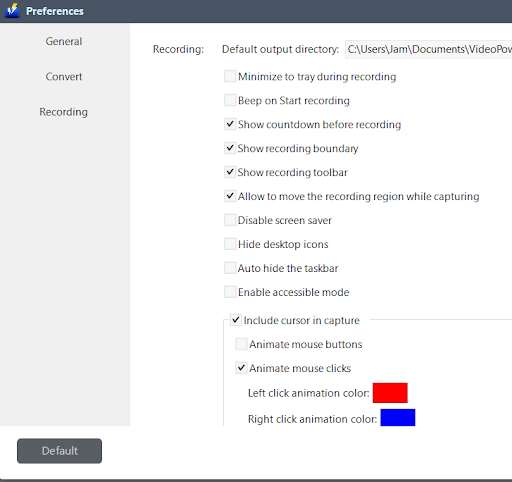
These settings will not really affect the quality of the record but appeals more on the convenience of the user. For example, by clicking on the boxes, you may want to minimize to tray during recording. The software will be minimized when you hit record or you can enable and disable the recording toolbar by toggling the show recording toolbar. If you prefer, you may also toggle on show countdown before recording so that you can have three seconds of leeway before the recording starts.
These settings will not really affect the quality of the record but appeals more on the convenience of the user. For example, by clicking on the boxes, you may want to minimize to tray during recording. The software will be minimized when you hit record or you can enable and disable the recording toolbar by toggling the show recording toolbar. If you prefer, you may also toggle on show countdown before recording so that you can have three seconds of leeway before the recording starts.
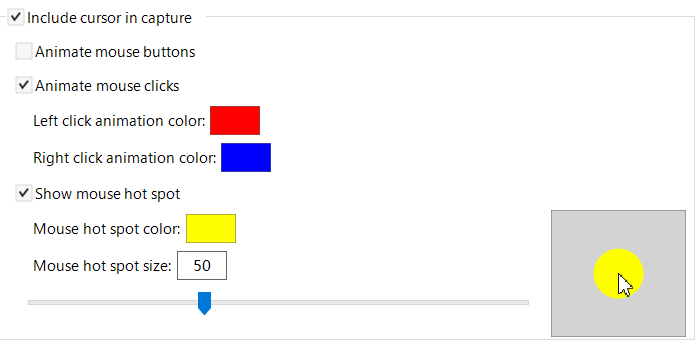
You can also change the animation or mouse style.
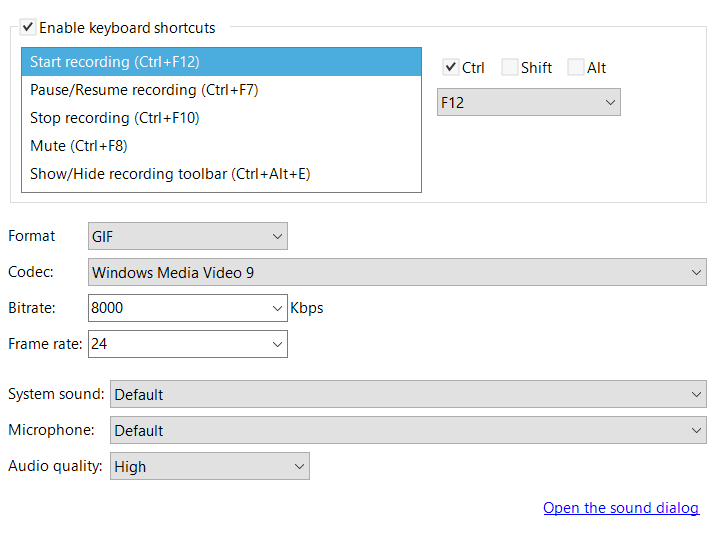
You can enable keyboard shortcuts.
Finally, you can also change the settings of the sound dialog by clicking on open the sound dialog.
The software also comes with a variety of different languages that the user can choose from.
Also, in the preferences option, you can click on User guide and a link to a Frequently Asked Questions page will open. There is also an instruction manual for the software if you click on Forum. You can also check for software updates by clicking Check for updates.
In conclusion, VideoPower BLUE is a powerful, multifunctional tool that offers a wide variety of options to choose from. This software is perfect for beginners – to ease novice video editors into the world of video editing, and a handy tool for more experienced users.
ZEUS Series
VideoPower brother products, start easier with more affordable prices!
| ZEUS BUNDLE 1 Year License ⇒ $29.99 |
ZEUS BUNDLE LITE 1 Year License ⇒ $19.99 |
ZEUS RECORD LITE 1 Year License ⇒ $9.98 |
ZEUS DOWNLOAD LITE 1 Year License ⇒ $9.98 |
||
| Screen Recorder | Screen&Audio Recording | ✔ | ✔ | ✔ | |
| Duration Setting, Schedule Recording | ✔ | ||||
| Video Downloader | Paste URL to download, batch download | ✔ | ✔ | ✔ | |
| Search/download video,browser detector | ✔ | ||||
| Music Recorder | Record music and get music ID3 tag info | ✔ | ✔ | ||
| Music search/download/record, CD Ripper/Creator, Audio Editor | ✔ | ||||
| Video Editor | Edit and convert videos, create slideshow | ✔ | |||
| Screen Capture | Capture screen, image editor | ✔ | |||