Index
YELLOW
9. Tools
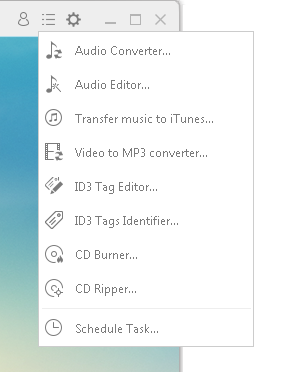
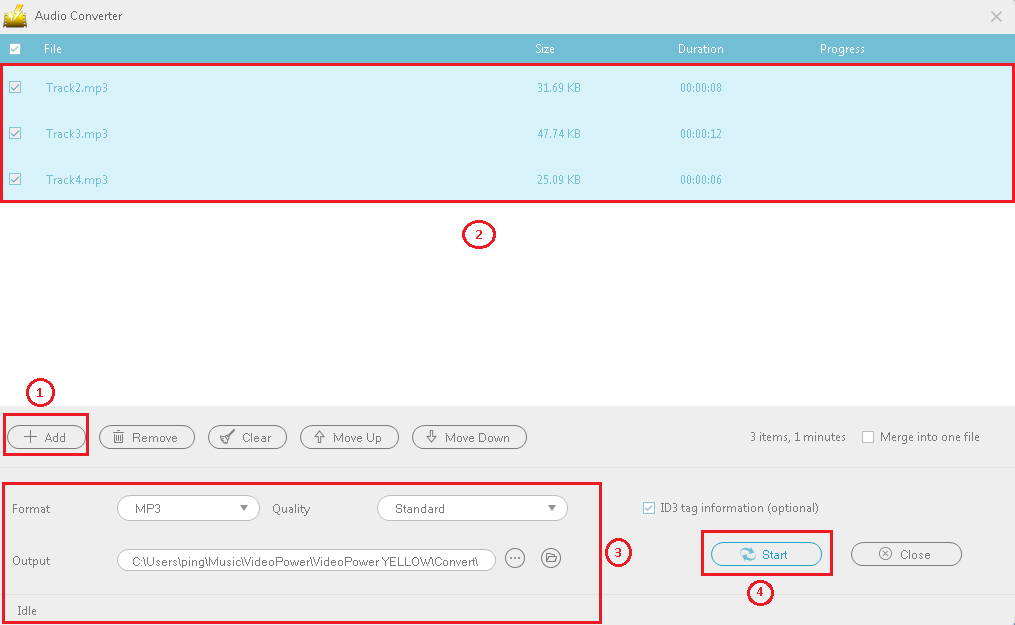
9.1 Audio Converter
You can use this tool to convert video and audio to audio formats such as MP3, FLAC, M4A.
1) Click “+ Add” to get the video or audio you want to convert.
2) Select the file to be converted.
3) Set the output format, quality, and save destination.
4) Click “Start” to start conversion.
9.2 Audio Editor
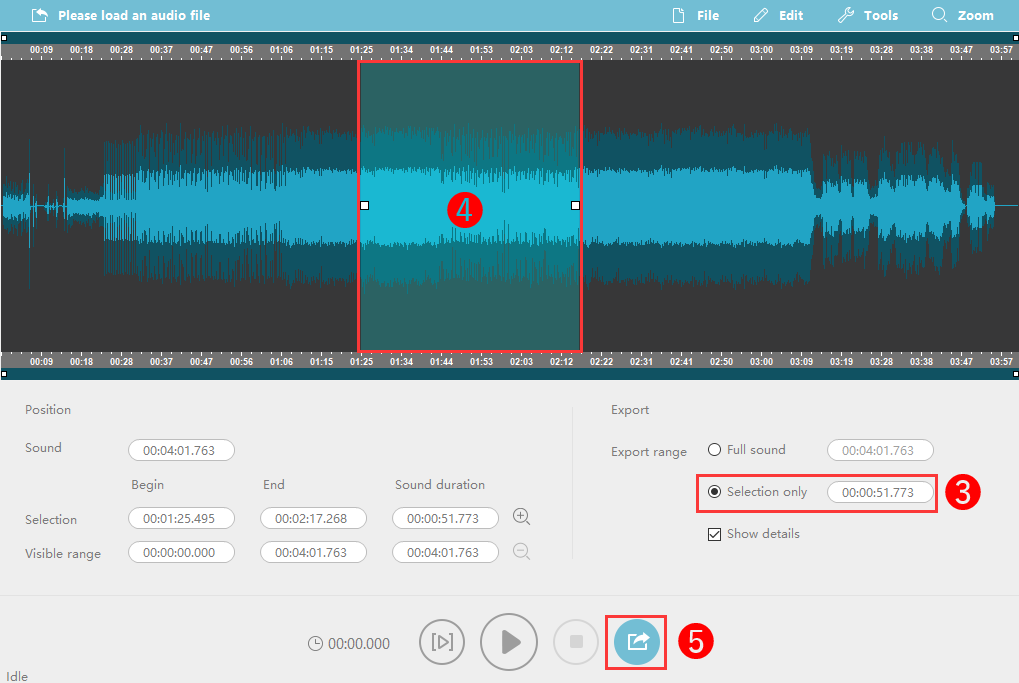
You can use this tool to edit audio files such as cut and mix. Here are the steps to trim the following audio file.
1) Click “Load audio file” and add the file you want to edit.
2) After adding audio, trim editing cannot be performed in the default state.
Click “Edit ⇒ Select All” to enable trim editing.
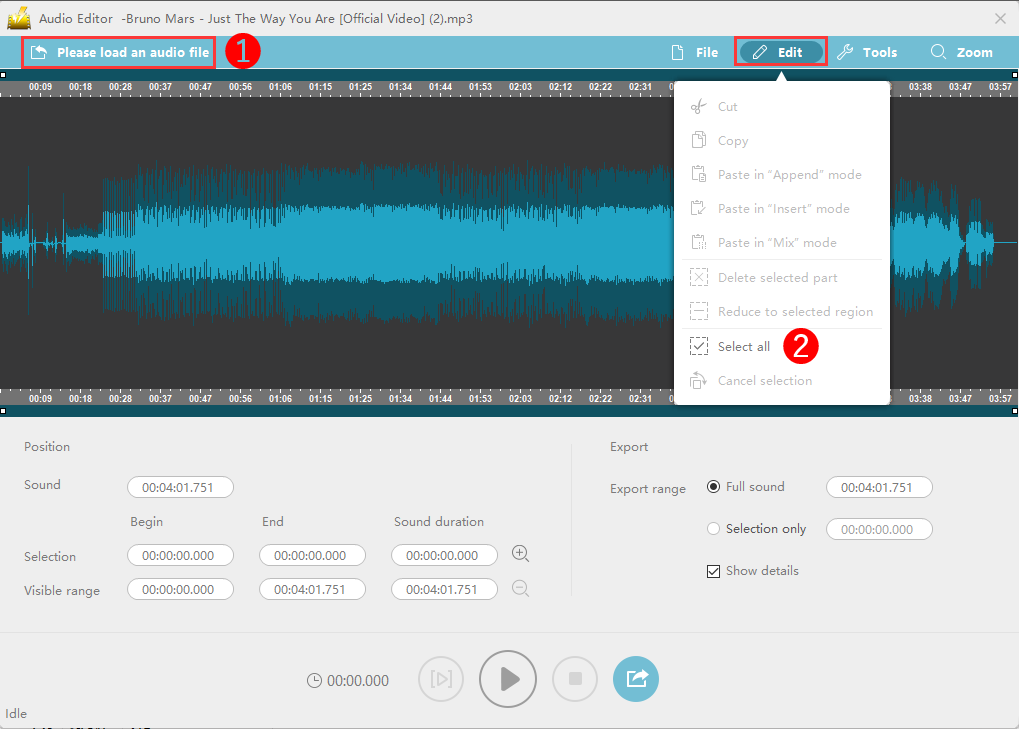
3) Select the “Selection only”
4) While playing the audio file, drag the square blocks on both sides of the waveform screen to select the part you want to hold.
5) Click the output button to convert and save the edited file.
Tool utilization
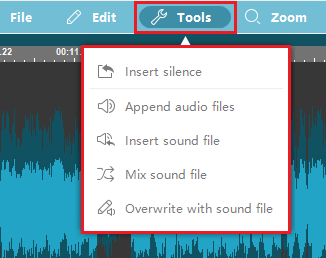
Insert silence:
Click where you want to insert a silence on the waveform screen, and set the silence time with the “Insert silence” tool.
Append Sound file:
Add new audio to the end of the current audio file.
If you want to cut and hold several places in one audio file, use this tool to add the same file several times and cut it.
Insert sound file:
Click on the waveform screen where you want to insert the sound file and then select “Tools” and insert an audio file through the “Insert audio file” button. The original audio file that is subject to be inserted will move backward.
Mix sound file:
Click where you want to start the audio mix on the waveform screen, and select the audio file in the “Tools-> Mix audio file”. The newly added audio file and the original audio file will be mixed and you can hear both of them.
Overwrite with a sound file:
Select the course of action to change or overwrite the existing original sound of the music with another different sound.
9.3 Transfer Music to iTunes
A tool that converts video and audio files to MP3 and adds them to your iTunes library.
1) Click “+ Add” to add a video or audio file.
2) Select the file you want to transfer to the iTunes library.
3) Click “Start” to convert the selected file to MP3 and transfer it to your iTunes library.
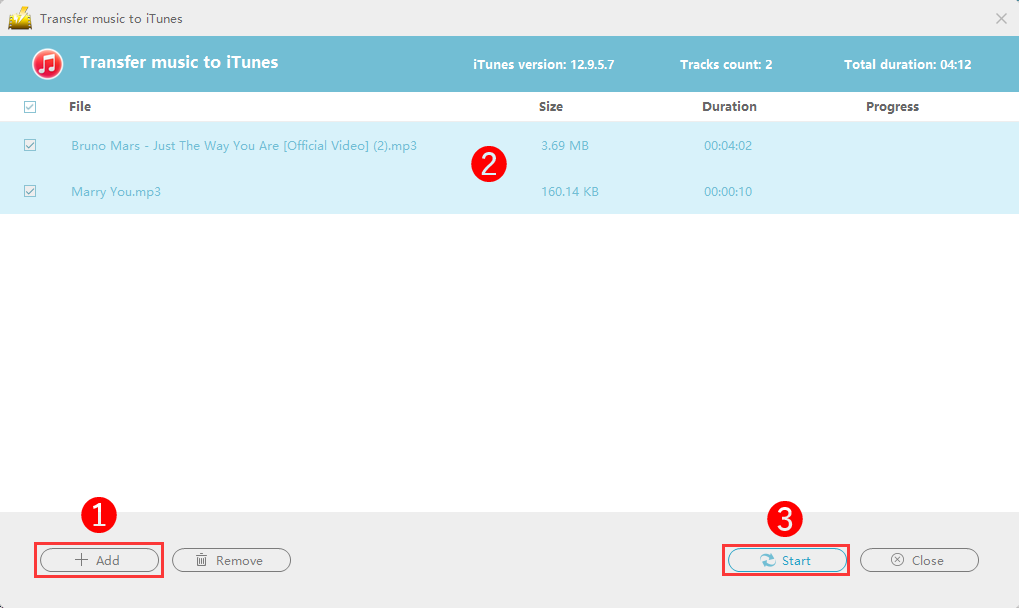
4) When the transfer is complete, you can check the music file transferred in the procedure in iTunes ⇒ Music ⇒ Recently added items.
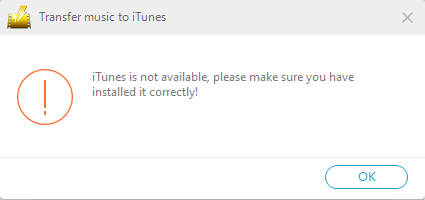
Notice: you need to install iTunes before you can use this function.
9.4 Video to MP3 Converter
Save online video to your computer as an audio format such as MP3.
The following will guide you on how to convert YouTube videos to MP3.
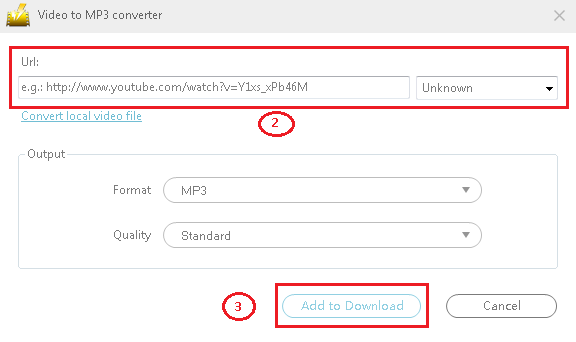
1) Open the YouTube video playback page in the browser.
2) Copy the URL, and paste it in the URL field below.
3) Set the format and quality to save, and click “Add to Download”
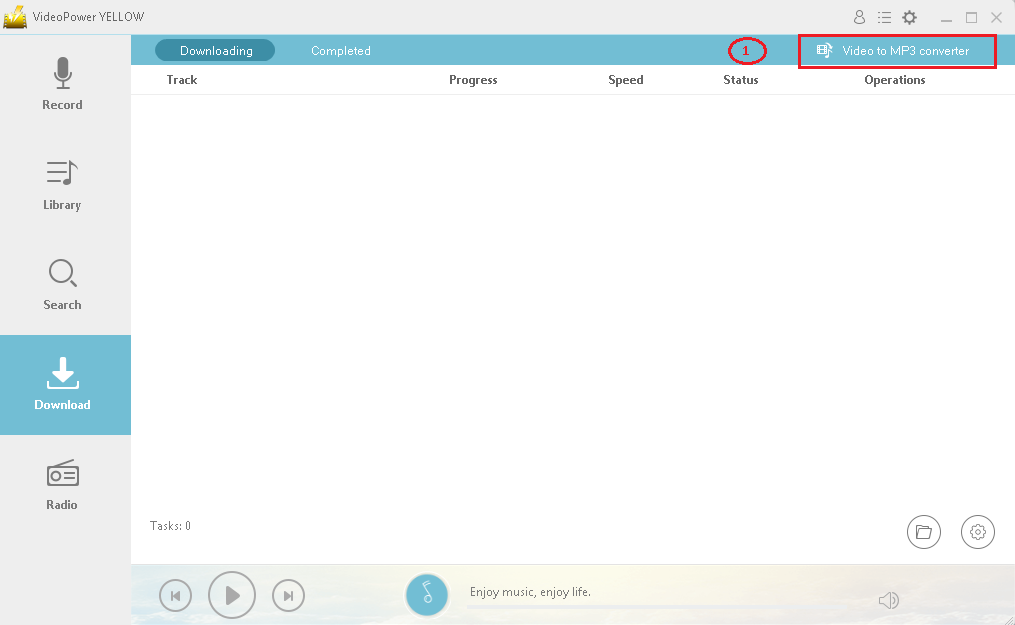
4) The “Audio Converter” will be closed, and the screen will be switched to the “Download” screen for video power YELLOW.
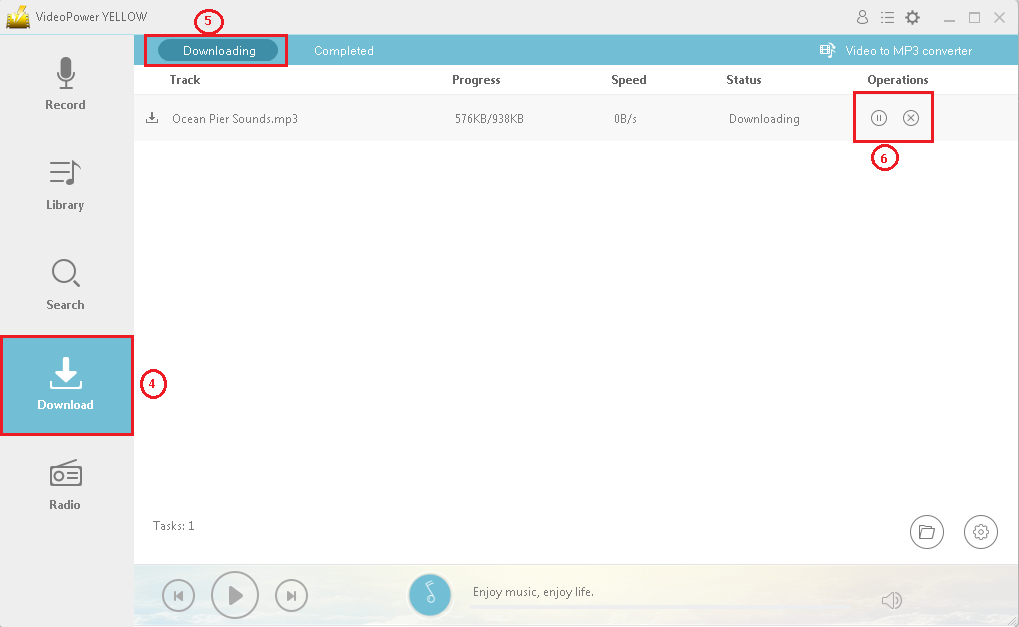
5) Downloaded files will be displayed on the “Downloading” tab. You can check the downloaded file in the “Completed” tab.
6) You can pause / resume / cancel the downloading file.
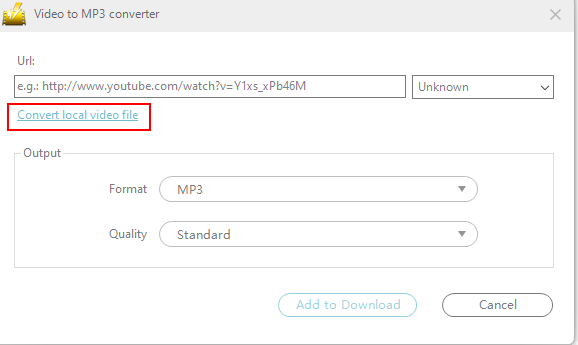
You can also convert local video/audio files to audio:
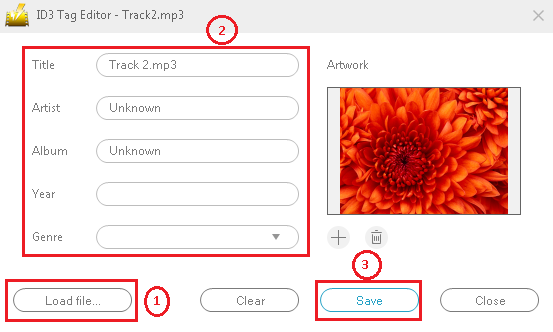
9.5 ID3 Tag Editing
A tool that can customize ID3 tag information of audio files
1) Add music files by “Load file”.
2) Customize the music file title, artist, album, year, genre, and artwork.
3) Save the ID3 tag information edit.
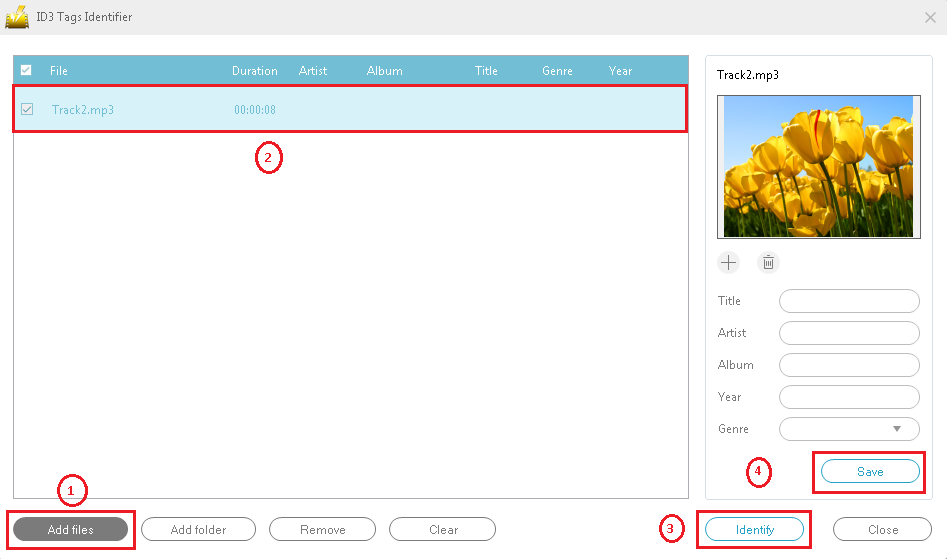
9.6 ID3 Tag Identifier
Get music file title, artist, thumbnail image, and album from an online database.
1) Click “Add File” to add a music file.
2) Select the file whose ID3 tag information you want to update.
3) Click “Identify” to get the ID3 tag information from the online database.
4) Click “Save” to save the updated information.
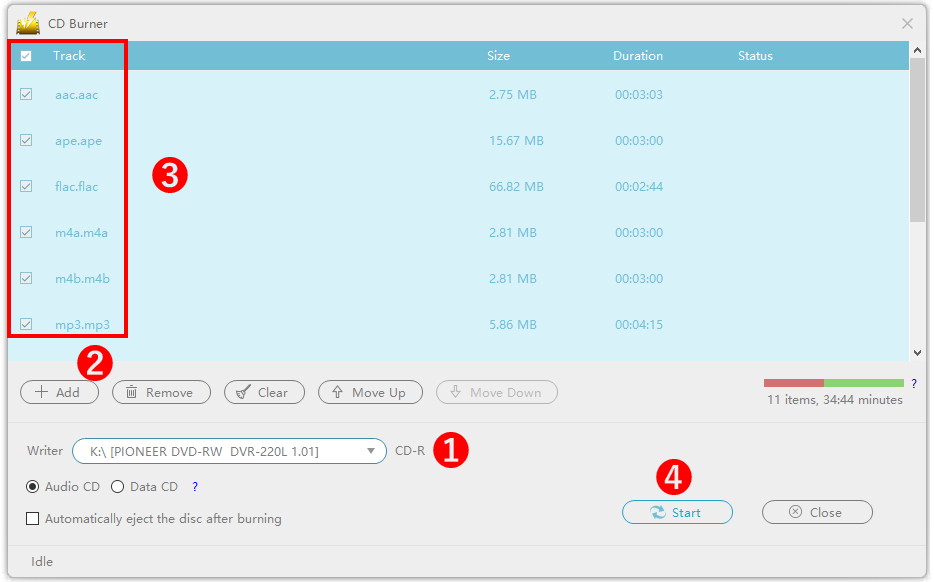
9.7 CD Burner
A tool to convert music and audio files to mp3 and create music CDs.
1) Insert a blank CD into the CD drive on your computer.
When the CD is recognized, CD-R will be displayed on the “Writer” tab as shown in the following screen.
2) Add video and audio files.
3) Select the file you want to write into the CD.
4) Click “Start” to convert the selected file to MP3 and burn it to the CD.
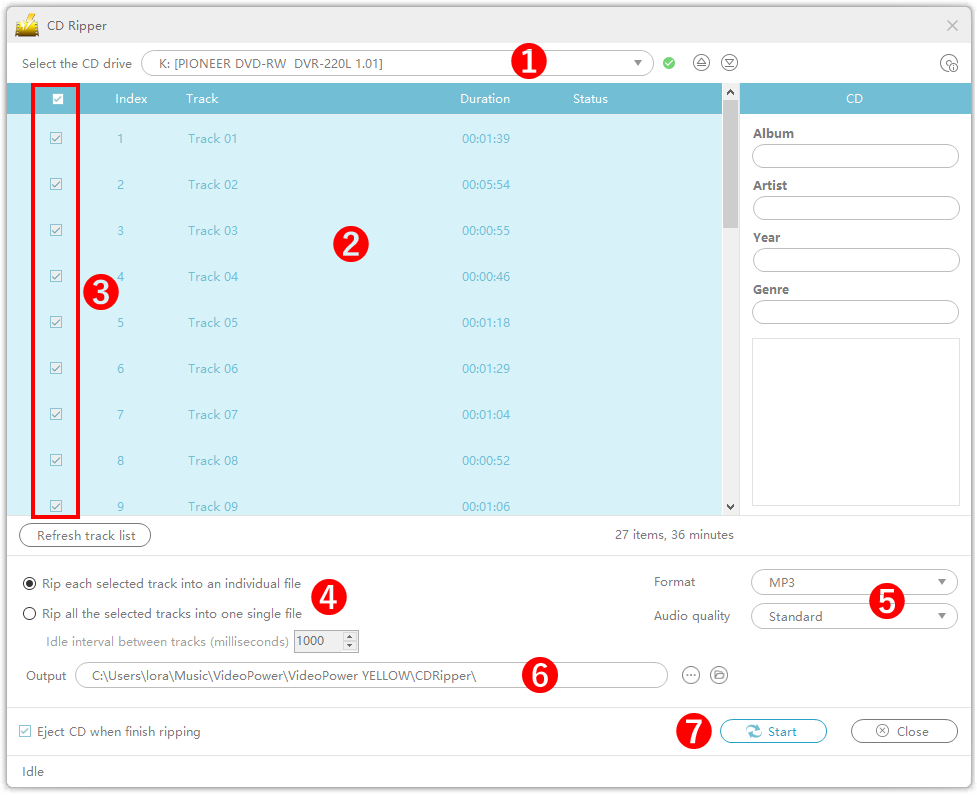
9.8 CD Ripper
This tool converts music files from music CDs and saves them on a computer.
1) Insert a CD into the drive. If there are multiple drives, select the drive where the music CD was inserted.
2) If the music CD is recognized normally, the music on the CD is automatically displayed in the file list.
3) Select the wanted music.
4) Choose whether to convert music files separately or combine them into one file.
5) Set output format and quality. There are options such as MP3, AAC, FLAC, M4A, WAV, OGG.
6) Set the output file destination for the music to be converted.
7) Click “Start” to convert the music CD and save it on your computer.